Monthly Archives: September 2015

One way of auto refreshing Datazen in your browser

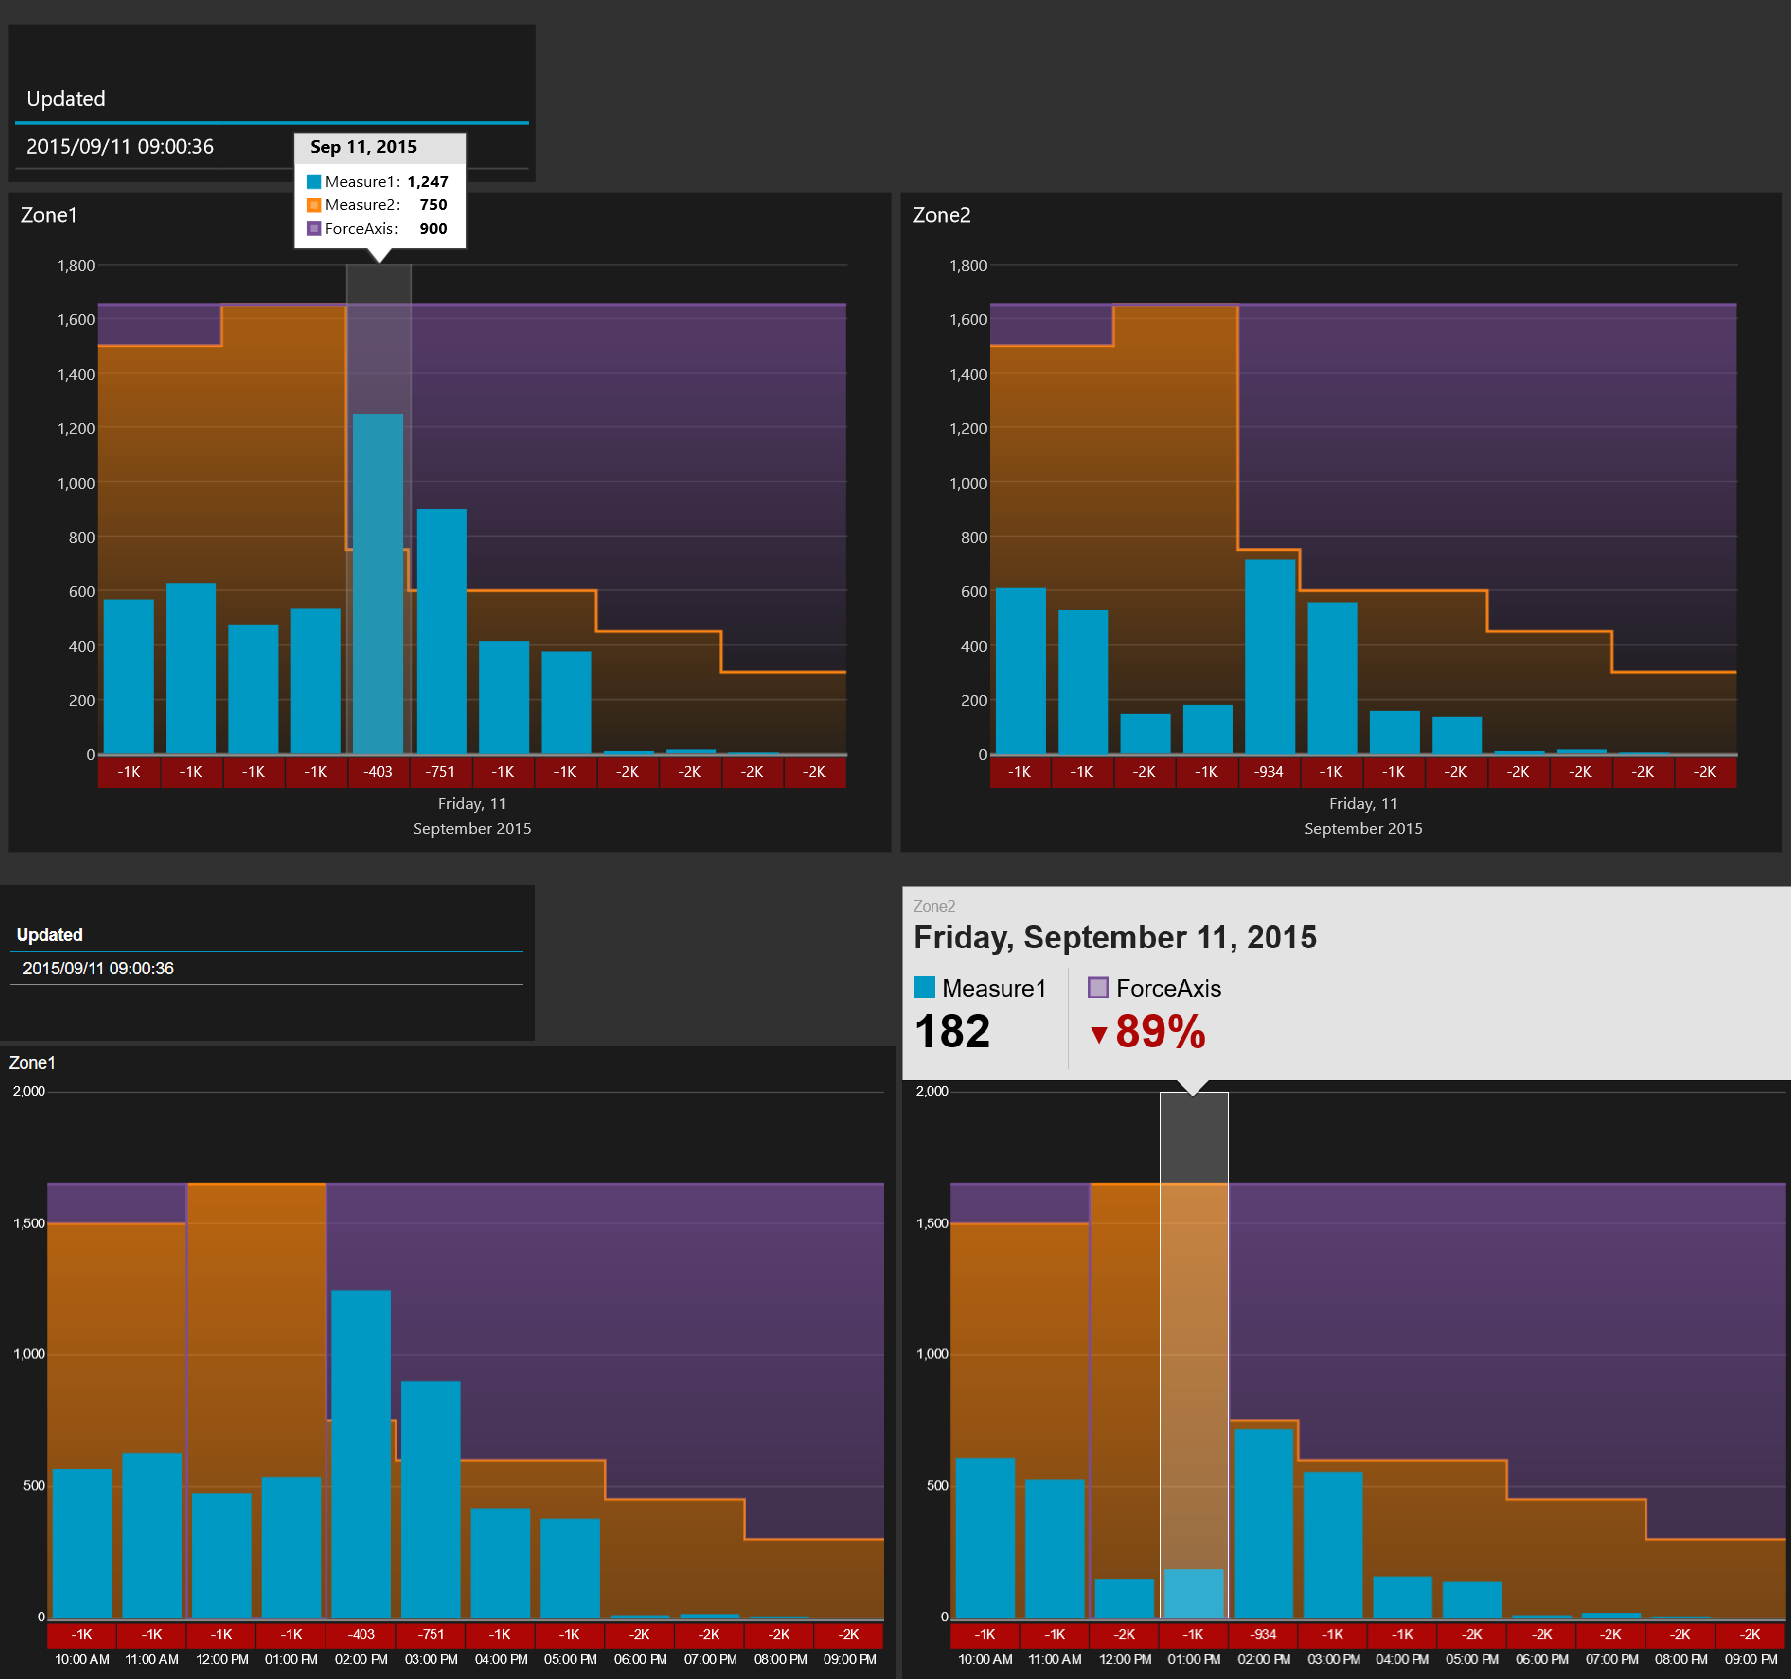
Yesterday I saw Christopher Finlan tweet about one way of making your Datazen dashboard auto refresh. He used a Firefox add-in for this, and I’d like to show you how I have been doing this.

If you want to show Datazen on a big screen there is at this point no out-of-the-box way to auto refresh your dashboard, meaning you have to open it to get new data. If you use the browser viewer you can quite quickly create one of the simplest websites in the world to do this.

In the header of your .html file add the following line:

<meta http-equiv="refresh" content="90" />

It will make your page refresh every 90 seconds. This can also be used if you want to circle some of your dashboards, sort of like a carousel. The line below will after 30 seconds go to the specified URL instead of just refreshing the page. To complete the circle make sure to go to the first dashboard in your last dashboard.

<meta http-equiv="refresh" content="30; URL='NextDashboard'">

So what does the .html file look like for the easiest example? Something like this, just exchange “DashboardURL” with your URL:

<!DOCTYPE html>
<html>
<head>
<title>Name of Dashboard</title>
<meta http-equiv="refresh" content="90 ">
</head>
<body style="margin:0px;padding:0px;overflow:hidden">
<iframe src="DashboardURL" frameborder="0" style="overflow:hidden;overflow-x:hidden;overflow-y:hidden;height:100%;width:100%;position:absolute;top:0px;left:0px;right:0px;bottom:0px" height="100%" width="100%"></iframe>
</body>

Note: If you are going to setup an auto refresh I’d suggest you also set up your guest account so you can have access to those dashboards without having to login. You can then use the public dashboard URL in the source of your iframe.

Creating a custom map for Datazen

Datazen lets you create and use custom maps which can be a really useful feature. What I am using for creating these maps is good, old Paint, internet and QGIS, which you can download here, http://www.qgis.org/en/site/forusers/download.html.

Say you want to create a map of your office. Maybe not the most useful map, but it is a small job to create an office layout in paint so lets start there. You can use other images as your starting point, but I want to make the entire thing from scratch to show that it is possible. My office will look like the one below with eight tables that I am going to map to different persons so we can see who actually does some work around the office! (None, of the names or data is real just to be sure)

Office

Next we need to convert this .png file to a vector file. I’m using http://www.autotracer.org/ for this, but there are other methods of doing it, software, other websites etc. Upload your file and make sure to choose DXF format on your output file.

convert

Now that we have a vector file of our office lets open up QGIS and just drag the .dxf file into it. Choose the default coordinate system and the layer with geometry type “linestring”. You should now have something like this in Qgis.

qgisOutline

Right click your layer, choose “save as…” and choose ESRI shapefile in the popup. When this is done you can right click your “linestring” layer and remove it. We are now going to edit the shapefile a little to make it simpler and also give the different shapes the name of people in our office so we can map data to their names. Right click the layer and press toggle editing. You are now able to edit, merge or delete sections. We can see that our vector image has some double lines around each desk, probably because we used to thick of a brush in paint so lets remove them.

toggelEditing

Find the “Select Feature” on your toolbar and select a section of your layer. This section becomes yellow and you can delete it. After deleting some of the sections I end up with a simple layer with eight squares, my office desks.

SelectFeature

We need to give the shapes some more friendly names. Right click your layer and select “Open attribute table”. You get a popup and in my case I see that all my shapes has the name C7 in the layer column. I’m going to select a row in this attribute table, and see that by doing this the related section in my layer behind turns yellow. I now know which section I am editing and I’ll say that Joe works by this desk. Then I do the same for the rest of the sections.

Attribute

Save your layer after giving all rows a name. One more step and it is ready to be imported into Datazen. If you try to import it at this stage your data will only end up on the lines of the desk and it is REALLY hard to see what color it has. Press Vector -> Geometry tools -> Lines to polygon to make your lines into polygons, an area. You will need to create a new output shapefile and save that.

Area

Alright, time to open up Datazen. Drag a map of your choice onto the Layout View, select “custom map from file” and find your shapefile. You will need the .shp and the .dbf file. Note: You can not have the shapefile open in QGIS at this point. It’s like reading from an Excel file, you can’t have it open when adding it to Datazen.

Press preview, and voila! You have created a map and inserted it into Datazen. Have fun, now the only limit is your mind or your customers need!

OfficeDatazen

Datazen: Personal feature requests

I’ve been using Datazen at one of my customers , and spoken about it with a bunch of other people about it, lately. People are starting to really get their eyes up for Datazen now, maybe because it’s free if you have a SQL Server Enterprise Edition license?

Anyways, I’ve met some challenges the last couple of days and I want to highlight some of them. I guess this is my way of putting in a few feature request. Maybe they are already on the roadmap, maybe not.

What am I trying to do? I need to compare two different zones with the same measure and compare it to another measure for each hour for the rest of the day. This comparison measure will change throughout the day and can also differ between the two zones. Great, I know what I am going to do! I’ll choose a “Comparison Time Graph”, choose my measures, choose hour as default time unit as and we should be good to go right? No!

Request 1: Fixed y-axis

First issue is that the axis’ are data driven, which is a nice feature in general, but in this case I need them to use the same axis’ for comparison reasons so I really wish I could have fixed axis’, or be able to use a third measure to define the y-axis. In this case I ended up calculating a third measure to force the graphs to have same y-axis based on the higest value in one of them. So I am now comparing measure 1 with measure 2 AND another measure to push the y-axis. This affects the comparison values below the chart however and wil now never go above 0. If i could chose to remove that difference value that wouldn’t be a big problemas the user could just use the graph, but I am not able to that.

Request 2: Same information in all viewers

Below I have the output from the Win8 app in the top of the image and the web browser viewer at the bottom. They clearly are showing different information. I want the hours to be displayed as in the browser viewer, but I want the tooltip from the Win8 viewer. I want to see the values of each measure, or at least have the option to do this. The browser is also only showing the label of one of the two masures I am actually comparing to.

DifferentBehaviour