Part 2: Using the Power BI API to make a real time dashboard
So you have set up your Azure Active Directory and created a Power BI provision for your organization? If not, you can have a look at part one of this series.
Before we start playing with the Raspberry PI let’s create a simple console application to see that we have set up things correctly in Azure Active Directory in the last post and are able to have real time updates on a dashboard in Power BI. Nothing advanced, but it is a nice test to see if we have set everything up correctly with our Azure account and Power BI. What we will do is create a dataset if it does not already exist in Power BI and insert rows of data into that dataset which will then update the dashboard in real time.
Creating a Power BI application
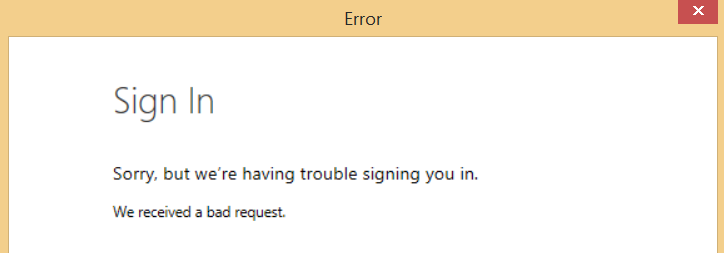
If you want to take the easy way out to see if you have set up everything correctly you can download a test code made by the MSDN team on github here: https://github.com/PowerBI/getting-started-for-dotnet. After downloading this code you need to insert your own Client ID that you get from your application page in Azure. You also need to set the redirect URI to the same as your application, if you don’t do this you will get an error message like the one below.

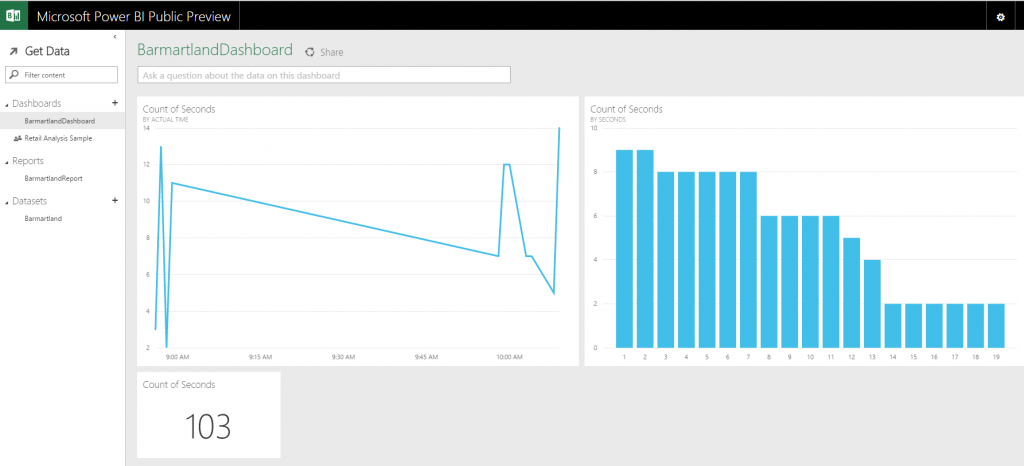
When you run the code you will see a green star-thingy appear to the right of your newly created dataset. After the dataset is created you can go and explore that dataset, even if it’s empty, and create a report. From the report you then pin report elements to a dashboard and when you run your application you will see the elements update real time. Nice!

I would suggest that you, either if you choose the easy way out or make a new application from scratch, do some playing around and create your own dataset and insert some rows into it so you get a better understanding on what is happening and how the Power BI API works. Getting a good understanding of how datasets and inserting rows work will be useful later. We will not be able to reuse the dataset in the example code when using our Raspberry PI so we need to be able to create our own datasets, turn them into JSON and then insert some data. What you create is completely up to you and your imagination. I made a new application from scratch with a simple timer that every second writes how many seconds it has been running, along with a timestamp, to Power BI. Does it provide great insight? Do I change how we look at this world? No, but it has provided me with some valuable hands on experience with the Power BI API. Other examples I’ve seen people doing is for example looking at clicks on a website and what device the clicks come from. Again it is completely up to you what you want to do.
Next up we will start to play with the Raspberry PI and then connect it to Power BI.

NOTE: When writing to a Power BI dataset there is, at the point when this post was written, no option to export a dataset from the Power BI Preview. This means that if you want to be able to use the data in another format than Power BI you need to store it another place as well. I am going to create an Azure SQL Database to store my data when using the Raspberry PI in case I want to use it other places other than PowerBI. Maybe you should consider doing the same?
Other parts of the series can be found here:
Part 1: Real time dashboard using a Raspberry PI and Power BI